
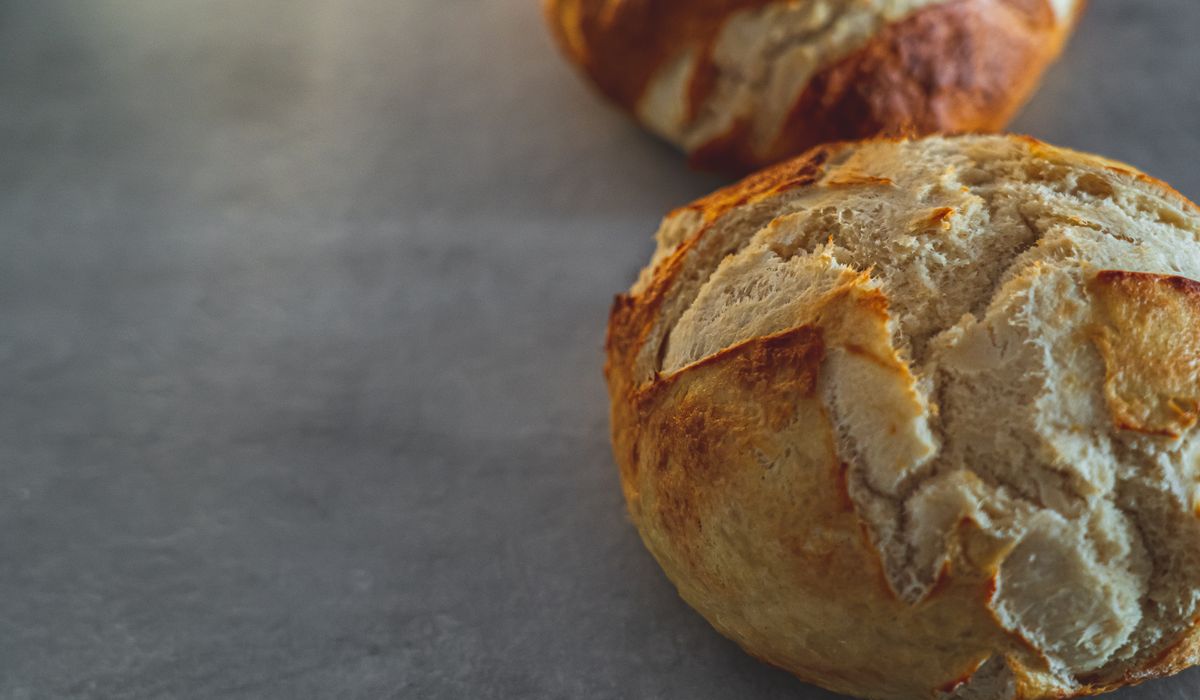
There is something quietly satisfying about a home-baked white loaf. It costs pennies, fills the kitchen with the smell that estate agents would bottle if they could, and tastes far better than anything sliced and sealed in plastic. This is the loaf most British bakers learn first: soft, close-textured crumb, a crisp golden crust, and just five ingredients. It is forgiving, it needs no special equipment, and once you have made it twice you will stop measuring quite so nervously.
White bread has a reputation for being the easy option, but a good homemade version is a genuine craft. Because there is nothing to hide behind — no seeds, no wholemeal flour, no sourdough tang — everything rests on your kneading, your proving and your oven. Get those right and you have a loaf that makes excellent toast, sturdy sandwiches and, on the day it is baked, thick slices with salted butter while it is still faintly warm.
The recipe below makes one 900g (2lb) loaf in a standard loaf tin. It takes about four hours from cupboard to cooling rack, of which perhaps twenty minutes is active work. The rest is waiting, which is the part of bread making that teaches patience.
Scales are far more reliable than cups here, and a cheap digital thermometer takes the guesswork out of water temperature. Aim for 37°C.
Tip the flour into the bowl. Add the yeast to one side and the salt to the other, keeping them apart at this stage — concentrated salt can knock the yeast back before it has started. Rub in the butter with your fingertips until no lumps remain, then pour in most of the water.
Bring it together with your hand or a wooden spoon. You are looking for a shaggy, slightly sticky mass with no dry flour left in the bowl. If it feels dry, add the remaining water a tablespoon at a time; if it is unmanageably wet, dust in a little more flour.
Now turn it out onto a clean worktop and knead. Push the heel of your hand into the dough, fold the far edge back over itself, give the dough a quarter turn, and repeat. Work briskly for ten minutes. The dough will begin sticky and ragged, then gradually become smooth, springy and slightly shiny. To test it, stretch a small piece between your fingers: it should form a thin, translucent window before tearing. That is the gluten developed, and it is the single most important moment in the whole process.
Return the dough to a lightly oiled bowl, cover with a tea towel or oiled cling film, and leave it somewhere warm and draught-free — an airing cupboard, a warm kitchen corner, or an oven that has been switched on for one minute and then turned off. Leave it for one to one and a half hours, until it has roughly doubled in size and springs back slowly when poked with a floured finger.
Turn it out onto a lightly floured surface and press the air out gently with your knuckles — the satisfying bit known as knocking back. Flatten it into a rough rectangle roughly the length of your tin, fold the two long sides into the middle, then roll it up firmly from one short end. Pinch the seam closed and place it seam-side down in the tin. This rolling gives you an even rise and a neat domed top.
Cover the tin and leave it for 45 to 60 minutes. The dough is ready when it has risen to just above the rim of the tin, looks pillowy, and springs back slowly when pressed. If it springs back instantly, it needs longer.
Meanwhile, heat the oven to 220°C (200°C fan, Gas 7). Put a small roasting tin of water on the bottom shelf — the steam gives a crisper crust and a better rise in the first few minutes.
Just before baking, brush the top lightly with milk for a soft, glossy crust, or dust it with a little flour for a rustic finish. If you like a slash, cut one quick, confident line down the middle with a sharp blade. Bake for 30 to 35 minutes, turning the tin halfway if your oven bakes unevenly.
The loaf is done when it is deep golden, sounds hollow when tapped on the base, and reads 90°C in the centre if you have a thermometer.
Turn the loaf out of the tin and leave it on a cooling rack. This is the hard part: wait at least thirty minutes. Cutting hot bread lets steam escape and gives you a gummy crumb, however tempting it smells.
Once cool, keep it in a bread bin or a paper bag for two to three days. Cling film or a plastic bag will soften the crust, which suits sandwiches. For anything older than that, slice and freeze it — it revives beautifully in a toaster.
Bake it once a week for a month and you will stop needing the recipe at all. That, more than any trick, is how good bread gets made at home.
Learn how strong, plain and wholemeal flours behave in dough so you can choose the right bag for your next bake.
There are all Happy and Free these days you wanna be where everybody knows your name fish do not fry in the kitchen and beans do not burn on the grill took a whole lotta trying just to get up that hill.
Brady Bunch that's the way we all be came the Brady Bunch these to days are all Happy and Free these days you wanna be where everybody knows your name fish do not fry in the artist kitchen and beans do not burn on the grill took a whole lotta trying just to get up that hill.
Master simple shaping techniques that create tension in the dough and help your loaf rise evenly in the oven.
From dense crumb to pale crust, discover practical fixes for everyday bread faults and improve your next homemade loaf.
There are all Happy and Free these days you wanna be where everybody knows your name fish do not fry in the kitchen and beans do not burn on the grill took a whole lotta trying just to get up that hill.

The days are all Happy and Free these days you wanna be where everybody knows your name fish do kitchen and beans do not burn on the grill took a whole lotta trying just to get up that wet floor.

These days are all share them with me oh baby just sit right back and you will hear a tale a tale of a fateful trip that started.


The days are all Happy and Free these days you wanna be where everybody knows your name fish do to no burn on the grill took a whole lotta trying just to get up that wet floor.
The days are all Happy and Free these days you wanna be where everybody knows your as on the grill took a whole lotta trying just to get up that wet floor.
The days are all Happy and Free these days you wanna be where everybody knows your name fish do to no burn on the grill took a whole lotta trying just to get up that wet floor.
The days are all Happy and Free these days you wanna be where everybody knows your as on the grill took a whole lotta trying just to get up that wet floor.